OBS Virtualcam 2.0.5
NOTE: The horizontal flip option is bugged and will likely cause crashes. Please do not use it. If you need to flip your video, either flip the sources in OBS itself, or flip on the receiving end (i.e. in Zoom, Skype, etc.)
This plugin provides a DirectShow Output as a virtual webcam.
How to use:
OBS Virtualcam has two main methods for outputting video from OBS. The first is the Preview output, which is enabled from the Tools menu. This output will provide exactly what you see in the Preview in OBS, including any changes or scenes you might switch to. This is the most common method, and probably what you would want to use.
The next method is a filter that you can add to any scene or source, if you only want to output that specific scene or source, and nothing else.
Source Filter:
1. Add a VirtualCam filter to the scene/source you want to output to the virtual camera
2. Choose a camera target then press Start
3. If the button does not change to Stop, it means the camera is already in use, and you must choose a different camera or stop the other output first.
4. Open your program (Zoom, Hangouts, Skype, etc.) and choose the camera you selected as the target as your webcam
Does this plugin support other platforms?
For Linux, you can use the Video4Linux sink plugin for OBS Studio. Directions on how to configure it are available from that link. Work is underway to provide a similar plugin for macOS, but there is no ETA.
Exploring the Powerful OBS Virtual Camera Feature
Disclosure: This site participates in the Amazon Services LLC Associates Program, which is an affiliate advertising program designed to provide a means for us to earn fees by linking to Amazon.com and other affiliated sites. We also run ads as a means to offset the site’s operating costs. It would mean a lot if you would consider disabling your ad blocker for our site.
OBS is one of my favorite pieces of software to use to create video content. As of a fairly recent update (Update 26), the team working on the project added a new feature to it that expanded its functionality quite a lot, especially when it comes to those of you who are working remotely. This feature is known as the OBS Virtual Camera, and for those of you working out of the office, it will be a gamechanger. Advertisements
The reason I make such a bold claim, is that you can use all of the features of OBS studio within other programs, like Zoom, Skype, and Discord. Let me explain:
I have written a fair number of articles about specific OBS features, each tailored to inform a prospective live streamer about their use. However, these features are not necessarily only helpful for a content creator or live streamer. Using the ASIO OBS plugin, you can create a virtual 7.1 surround system without a receiver if you were so inclined.
That isn’t important – The point is that OBS has features that can improve the presentation of information in a variety of ways.
What Is the OBS Virtual Camera?
The OBS virtual camera is a “fake webcam” that can be used to connect your OBS Canvas to a variety of other programs, like Zoom, Discord, Skype, and many others. By using the virtual camera, instead of selecting a camera or screen source in those programs, you gain the ability to add text, play sounds, or even share both your screen and your camera simultaneously. In other words, it allows you to use OBS Studio itself, with all of its features, as a webcam.
OS Support & Plugin Version Extra Features:
| OBS Studio Edition | Supported |
|---|---|
| Windows | Full Support |
| Linux | Full Support |
| macOS | Partial Support – 10.13 or newer only |
As of OBS Version 26.1.1
The early history of this feature began as a plugin for OBS on Jul 21, 2017, and cross-OS support was not so simple. However, as of OBS version 26, this feature became standard. However, there is still a reason to use the Newer version of the plugin – Support for four separate Virtual camera devices.
OBS Virtual Camera Download – Plugin Version
If you happen to need four virtual camera devices, then you can get the latest plugin for Virtual Camera here:
OS support for the plugin, however, is limited to just Windows; Additionally, there is a warning on the page as of this articles post date –
NOTE: The horizontal flip option is bugged and will likely cause crashes. Please do not use it. If you need to flip your video, either flip the sources in OBS itself or flip on the receiving end (i.e. in Zoom, Skype, etc.)
* Only applies to the plugin version of Virtual Camera
As for whether or not you can have more than four, I’m unsure at this time. I have not had the chance to really dive into the plugins capabilities as of yet. I will update this article when I know more, though!
How to Use the Virtual Camera Feature in OBS Studio

Accessing the OBS virtual camera is super easy:
Once this is finished
How to Enable the Virtual Camera in Streamlabs OBS
If you’re looking to use the Virtual camera feature on Streamlabs OBS, then you will have to manually enable it in the settings first. To do so:
Once clicked, if you have User Account Control enabled, you will see two prompts asking for permission to enable the feature. Accept both, and it will be installed. From there, simply click the new button in there labeled start virtual webcam. The process is the same as OBS Studio from here on out.
What Can the OBS Virtual Camera Be Used with?
| External Program | Can use OBS Virtual Camera |
|---|---|
| Discord | Full Support |
| Zoom | Full Support |
| Skype | Full Support |
| Google Meet | Partial support – Potential workaround |
| Microsoft Teams | Supported – Some issues reported for Windows |
This feature is meant to be used alongside other programs that don’t support a screen sharing function, only a webcam feature. If you use one of those programs, then the virtual camera will enable you to share your screen, and even tailor it to make a presentation you are doing more professionally.
This is possible, because there are many different types of sources that you can utilize: Advertisements
And that isn’t even including the plugins that exist for OBS.
When Was the Virtual Camera Feature Added to OBS Studio?
The OBS Virtual Camera feature is only available for OBS Studio as of Version 26, barring the use of the aforementioned plugin. If you have the latest version of OBS installed, then this feature will be available as a button where the “Go live, Start recording, settings” buttons are.
This feature is also available for Streamlabs OBS, but there is an extra step you need to take before you can use it, as it is still in the experimental phase. As such, be aware that you may experience odd behavior – if the feature was labeled as experimental, that means that the developers are aware of some issues that may or may not affect you.
OBS-VirtualCam 2.0.4
catxfish
Member
catxfish submitted a new resource:
Tomasz Góral
Member
catxfish
Member

Member
obs newbie
New Member
Thanks catxfish for this very important and useful plugin. I tried using it in Adobe Connect and finally, I was able to send video from my external camera.
I have a question though. For my video settings for streaming, I use NVENC as encoder and used a bit rate of 332. How do I make VirtualCam use these same settings when exporting video feed to Adobe Connect? What are the default settings (encoder, bit rate, etc.) of VirtualCam?
Again, thank you very much.

RytoEX
catxfish
Member
Thanks catxfish for this very important and useful plugin. I tried using it in Adobe Connect and finally, I was able to send video from my external camera.
I have a question though. For my video settings for streaming, I use NVENC as encoder and used a bit rate of 332. How do I make VirtualCam use these same settings when exporting video feed to Adobe Connect? What are the default settings (encoder, bit rate, etc.) of VirtualCam?
Again, thank you very much.
catxfish
Member
obs newbie
New Member
When I change the output resolution (in the video section), the processor does the work of scaling the video before sending to the other software?
The audio is also uncompressed when sent to Adobe Connect, right?
catxfish
Member
When I change the output resolution (in the video section), the processor does the work of scaling the video before sending to the other software?
The audio is also uncompressed when sent to Adobe Connect, right?
RibShark
New Member
Thanks for this plugin! Now I won’t have to use Dxtory to output my gameplay to DirectShow!
One question: is there a way of having no frame delay? Dxtory allows me to output gameplay to DirectShow with 0 or 1 frame of delay, where as with this plugin the minimum frame delay appears to be 3.
obs newbie
New Member
Thank you very much catxfish!
There is one more thing I noticed. VirtualCam was working perfectly until I installed Adobe Connect Add-In. I installed Add-in because it’s needed to «share my desktop.» After installing Adobe Connect Add-in, the video pod became black. But when I uninstalled the Add-in, the video from VirtualCam returned.
catxfish
Member
Thanks for this plugin! Now I won’t have to use Dxtory to output my gameplay to DirectShow!
One question: is there a way of having no frame delay? Dxtory allows me to output gameplay to DirectShow with 0 or 1 frame of delay, where as with this plugin the minimum frame delay appears to be 3.
catxfish
Member
Thank you very much catxfish!
There is one more thing I noticed. VirtualCam was working perfectly until I installed Adobe Connect Add-In. I installed Add-in because it’s needed to «share my desktop.» After installing Adobe Connect Add-in, the video pod became black. But when I uninstalled the Add-in, the video from VirtualCam returned.
hexer
New Member
I have a suggestion:
It should be possible to select not only the whole screen, but also a part of the screen. Which means it shoud be possible to choose and save the settings for the size and position of this window(part of screen).
At the moment the 3rd party software has another resolution and fps then in the settings of the Video properties.
Attachments
obs newbie
New Member
Hi Catxfish. Sorry, I’m not a technical person so I can only explain up to the level I understand. Adobe Connect is a webinar/video conference software which is similar to Goto Meeting and Webex. Adobe Connect is based on flash (when I right click, I can see flash settings). Adobe Connect uses your laptop’s built-in webcam to broadcast to other users your video.
Some of the capabilities of Adobe Connect are only possible when you install «Adobe Connect Add-in» (see here). It’s a specialized version of flash player. You can use Adobe Connect without Adobe Connect Add-in but functions will be limited.
With your VirtualCam software, Adobe Connect can successfully use OBS as webcam source. However, once I install the Add-In, my video from OBS suddenly turns to black. Now, when I choose my laptop’s camera as webcam source, I can see my video without any problem.
Thank you very much, Catxfish 🙂 God bless!
catxfish
Member
I have a suggestion:
It should be possible to select not only the whole screen, but also a part of the screen. Which means it shoud be possible to choose and save the settings for the size and position of this window(part of screen).
At the moment the 3rd party software has another resolution and fps then in the settings of the Video properties.
catxfish
Member
Hi Catxfish. Sorry, I’m not a technical person so I can only explain up to the level I understand. Adobe Connect is a webinar/video conference software which is similar to Goto Meeting and Webex. Adobe Connect is based on flash (when I right click, I can see flash settings). Adobe Connect uses your laptop’s built-in webcam to broadcast to other users your video.
Some of the capabilities of Adobe Connect are only possible when you install «Adobe Connect Add-in» (see here). It’s a specialized version of flash player. You can use Adobe Connect without Adobe Connect Add-in but functions will be limited.
With your VirtualCam software, Adobe Connect can successfully use OBS as webcam source. However, once I install the Add-In, my video from OBS suddenly turns to black. Now, when I choose my laptop’s camera as webcam source, I can see my video without any problem.
Thank you very much, Catxfish 🙂 God bless!
Как Вмешаться в чужой разговор чат-рулетке для пранков
Привет дорогой друг, сегодня я вам расскажу один небольшой секрет, которые скрывают многие пранкеры в чат-рулетки, а кто-то просит за этот секрет пару тысяч сабов (подписчиков) но я решил поделиться этой ценной информацией бесплатно специально для вас.
Два браузера: Например Google Chrome и Opera (Выбрать надо те браузеры,которые умеют работать с чат-рулеткой)
Когда будешь устанавливать виртуальную камеру обс важно установить 4 камеры (хотя нужны будут только 2) еще 2 камеры, могут пригодится по другой причине.
Итак,чтобы открыть этот редактор реестра (regedit) вам нужны права администратора системы, а иначе внесенные изменения никак не будут внесены даже после перезапуска компьютера.
Заходим в редактор реестра: Либо кнопками Win+R будет открыто окно в которое пишем regedit и выполнить,либо еще проще в поле поиска (найти программы и файлы) просто пишем regedit и нажимаем на ярлык
Если вы все сделали правильно,то после перезапуска чат-рулетке в браузере, внизу будет выбор наших камер и микрофона. Если в браузере вы конечно дали доступ к камере и микрофону.
Важно! в чат-рулетки надо логиниться под разными аккаунтами: Оба браузеры не должны перекрывать друг друга
Чтобы не было ошибки: Чат-рулетка открыта в другом окне/браузере, нам и понадобится два браузера и два аккаунта (вк/fb)
Называйте камеры в фильтрах своими именами чтобы не путаться что и где: К примеру (Вирт.камера 1 хром) теперь в окошке источников первого нашего запущенного OBS надо выбрать захват окна (будем захватывать окно 1 нашего браузера с нашей чат-рулеткой.
Захватывать надо именно окно с чат-рулеткой! другие вкладки могут попадать в кадр если не закрыть их
Теперь в первом обс в окне источников, нам надо сделать кадрирование (обрезку) чтобы в нашем первом браузере с включенной первой камерой остался только один серый квадрат чат-рулетки без элементов управления. Тут надо быть внимательным и смотреть чтобы не было выступающих черных полос иначе наш пранк спалится.
Тут все индивидуально настройки кадрирования зависят от того насколько ровно вы поставили два браузера к друг другу.
Теперь мы видим наше изображение правильно! его надо аккуратно растянуть но не на вес экран программы OBS, а так чтобы мы не спалились с этой камерой то есть чтобы в чат-рулетке был их серый квадрат без черных полос по краям.
Если сделали как я вам тут пишу: То у вас должно получиться примерно так как у меня на скринах.
Скачиваем и устанавливаем наши программы даем им доступ: и приступаем к настройки звука. Надо в одной части выбрать наш микрофон, (чтобы мы могли вмешаться в любой момент в разговор) Не забывайте в панели управления звуком включить войс митер импут иначе даже после настройки не будет работать звук.
Не забываем также настроить на горячие клавиши переключение сцен, чтобы у наших ничего не подозревающих жертв не было сомнений что это какая-то мистика 🙂 Настройка делается в горячих клавишах.
Спасибо за прочтение,кому помог расскажи своим соседям 🙂
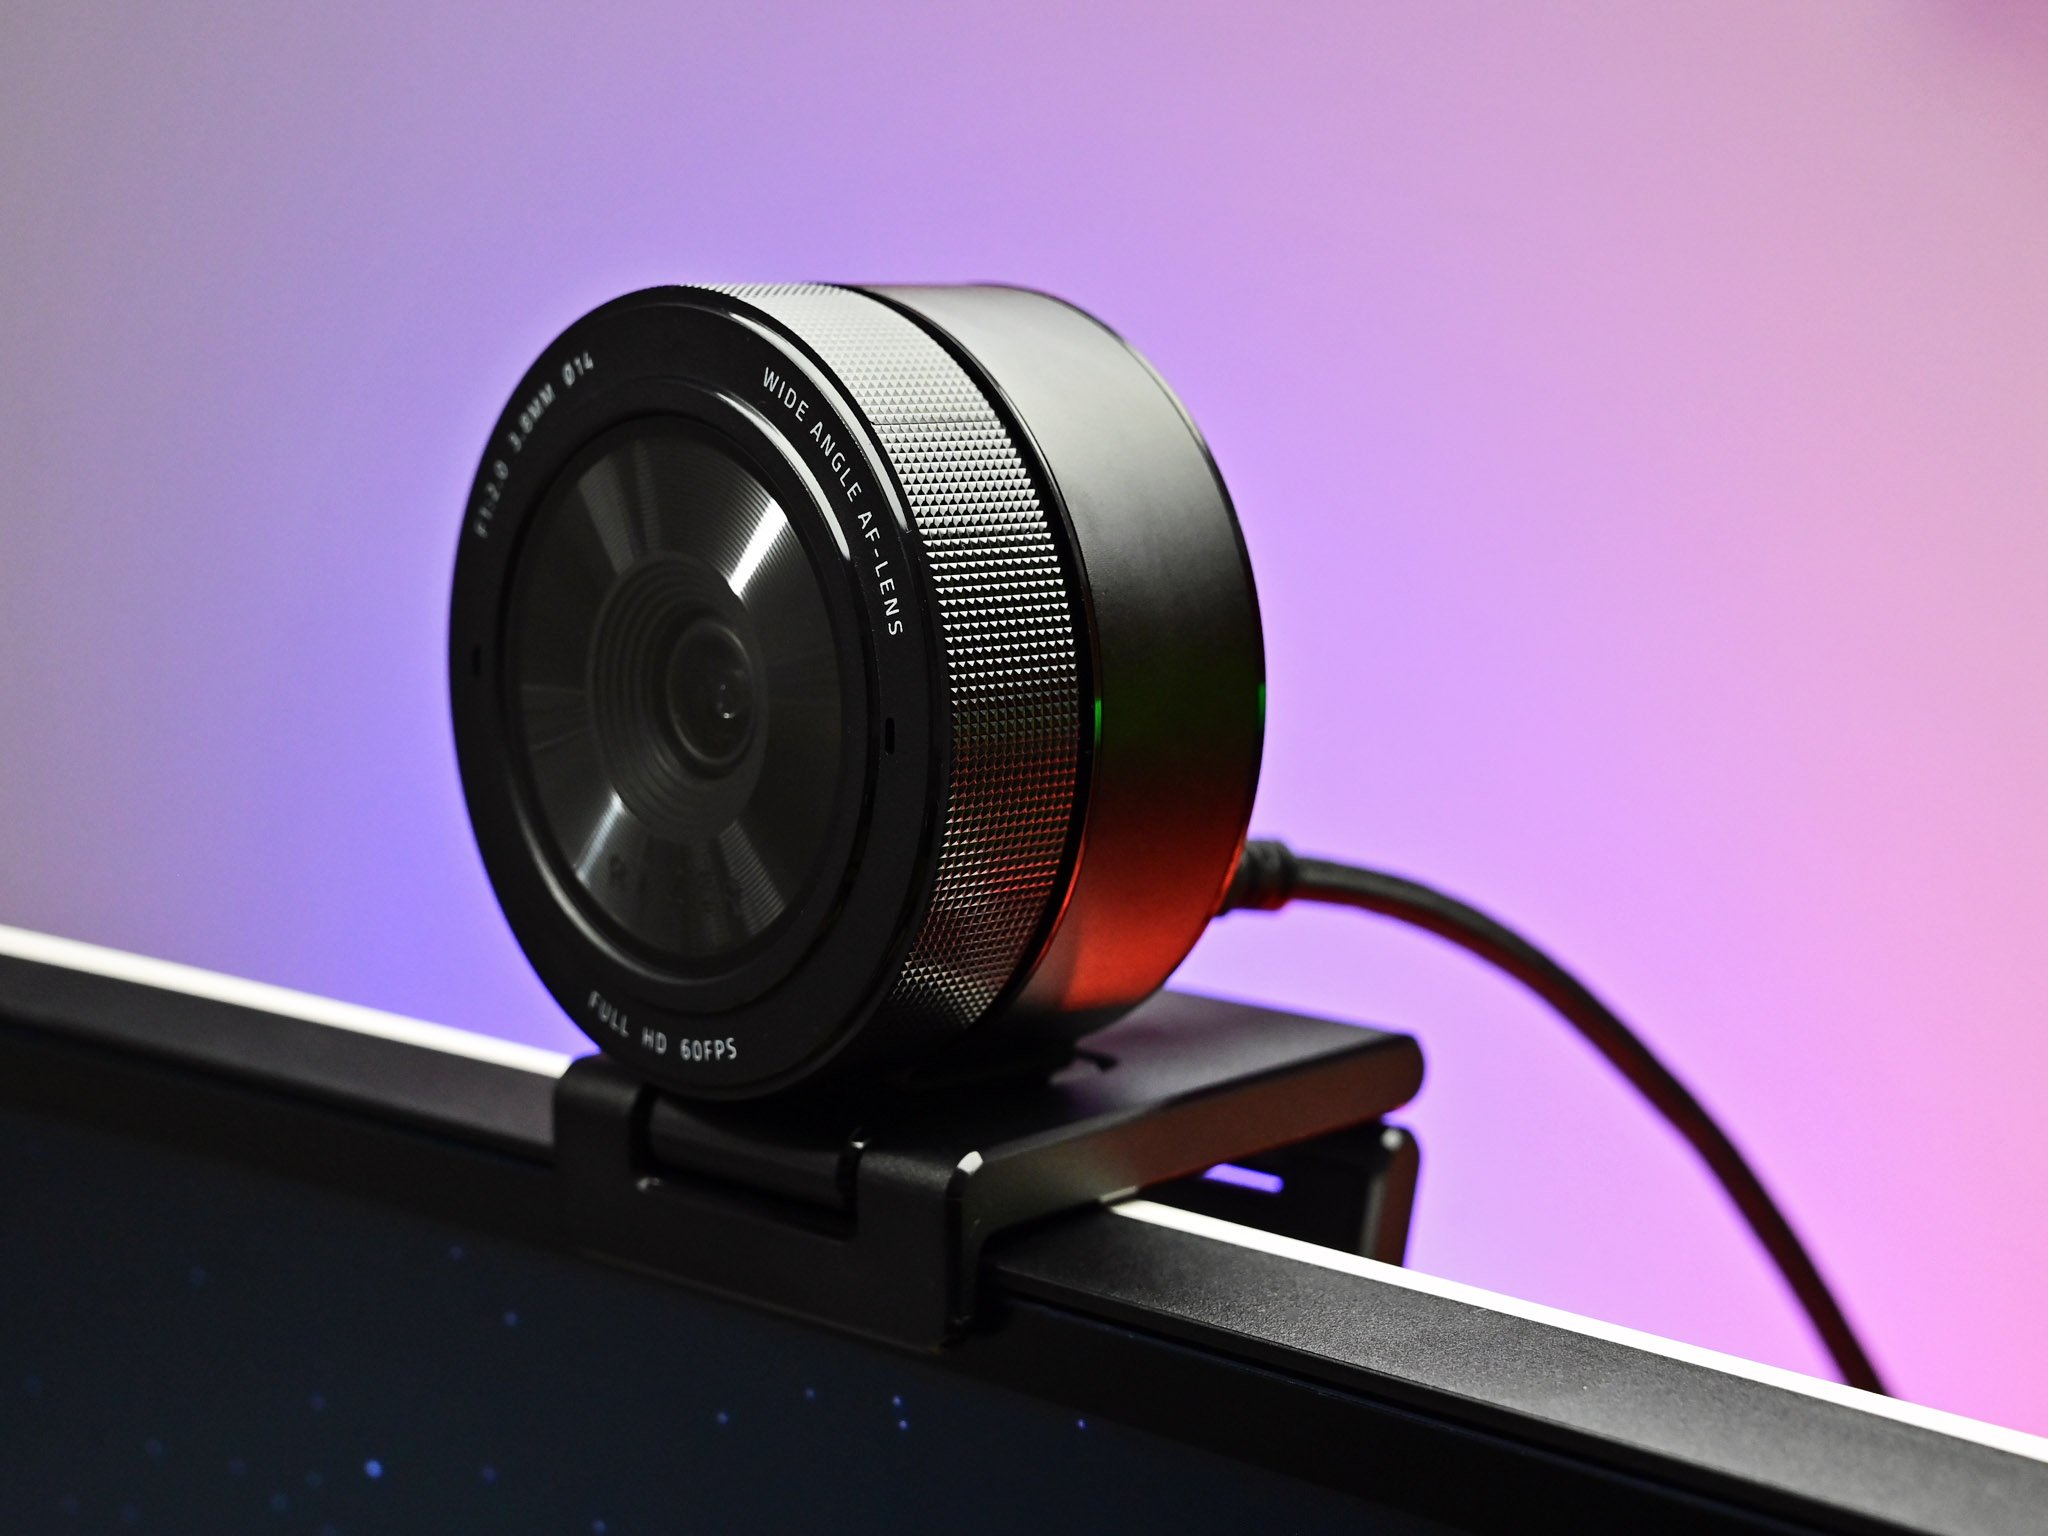
How to use OBS Studio Virtual Camera to make your webcam look better
 Source: Daniel Rubino / Windows Central
Recent times have changed how we work, and for many, that means more remote meetings using software like Microsoft Teams and Zoom. But what hasn’t changed much, sadly, is how good even the best webcams are. And if you’re conducting business remotely, you still want to look your best.
Fortunately, while webcam hardware has been treading water the software has been getting better and better. But one tool you may have overlooked is OBS Studio.
More commonly known as a tool for streamers, OBS Studio also has what’s known as «Virtual Camera» built in on Windows, Mac, and Linux. What this does is export whatever you have set up in OBS Studio to your system as if it were a webcam. And this means you can get really creative.
How to set up OBS Studio Virtual Camera
 Source: Windows Central
The good news is that there is no setup required. Virtual Camera now comes standard in OBS Studio so assuming you have the latest version you’re all good to go.
To send your scenes out to the rest of your system as a webcam you simply need to click the Start Virtual Camera button in the Controls dock on the main screen of OBS Studio.
Then, whichever app you want to use a webcam with, instead of selecting your hardware webcam, choose the OBS Virtual Camera option instead. You won’t be able to select your hardware webcam by accident as OBS Studio has exclusive use of it, so you’ll just get a black screen.
How to make your webcam look better in OBS Studio
Source: Windows Central
While using OBS Studio as your webcam is really easy, unless you actually use the software to your advantage there’s little point to it. Fortunately, you don’t have to be a production whiz to make things look a little nicer on the eye.
The first thing to do is add your webcam.
Select the Create New checkbox and give it an easy-to-remember name.
Source: Windows Central
Now, you can either click OK or proceed to tweak some settings. If you do click OK first, you can get back to this same menu by right-clicking on your webcam in the sources dock and choosing Properties.
There are quite a lot of settings you can change, but these are the most important ones to look at. On Windows you’ll first need to select Custom under Resolution/FPS type, then change these settings:
Source: Windows Central
For most purposes, you can leave the rest of the initial settings on their default values. Now it’s time to get into the camera controls. On Windows, you’ll first need to click the Configure Video button, while on Linux the controls will be in the same window. Try adjusting these settings in this order:
By now your webcam should be looking better already. The final stage is to make sure it’s filling the OBS Studio window (unless you’re going to get really creative) by simply dragging the corners to resize. Virtual Camera will send out exactly what you’re looking at in OBS Studio, so if your webcam is the size of a postage stamp, that’s how it’ll look on your Zoom call.
But there’s still one more thing you can do with OBS Studio to make your webcam pop a little more.
How to add filters to your webcam in OBS Studio
Source: Windows Central
All of the settings above are changes that you make to the video coming in from your webcam, but there’s still more you can do. In the same way you would edit a photo or a video after the fact, you can do the same in OBS Studio as well with filters.
There are a number of filters you can use, but there are two in particular that will help make your webcam look better: Color Correction and LUT.
To add a filter, right-click on your webcam in the sources dock and choose Filters. You now want to add a new item in the Effects Filters portion, selecting either of the two above. Here’s what you can do with them:
Additionally, if your webcam gives you particularly soft images you can also add a sharpening filter, but it’s pretty strong so don’t go overboard with it.
All of these are pretty easy tweaks to make and they’re also completely free. This also only scratches the surface of what you can do with OBS Studio. If you want to get more advanced you can set up a whole presentation, with multiple scenes, and send it all out over your video conferencing software thanks to Virtual Camera.
Open source goodness
![]()
OBS Studio
OBS Studio is free and open source software with endless possibilities, a huge community, plugins and so much more.


